Do You Know Your WiFi Network Name (SSID) and Password?
If you have just purchased your soil sensors and a Collector unit, we'd like to thank you for your purchase. We hope these instructions are comprehensive, but you can also contact us for support at any time.
The first step for using your soil sensors is to connect your Collector unit to your WiFi network, so you will need to know your WiFi network name (SSID) and password.
A new Collector unit will automatically start up in WiFi AP (Access Point) mode, with a repeating sequence of instructions appearing on the built-in OLED display.
It is important to understand that the Collector unit is functioning in AP mode. This means it is behaving just like your existing router, so you will disconnect from your existing router and connect temporarily to the network name shown on the OLED display (GN-9089 is shown in the examples below, but it will be different for you).
At the end of this procedure you will be loading a form to enter the network name and password of your regular router, and once you have done that, the Collector will switch to Station mode and connect to your regular router (assuming you gave it the correct credentials).
The following pictures are a simulation of the sequence of screens you will see on the OLED display:
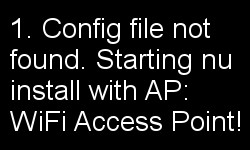
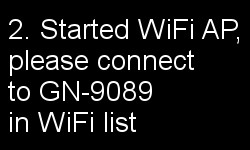
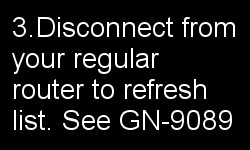
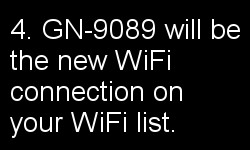
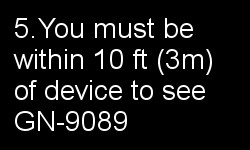
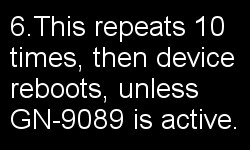
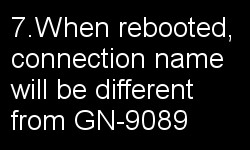
The final screen (7.) reminds you that if you let it run all the way through the countdown sequence, and the system finally reboots itself, it will be a different network name from GN-9089 (but the GN- prefix will be the same).
If that happens, you can simply start the process all over again, and the Collector will not be harmed in any way.
After You Have Connected to the Temporary AP Network
When you have successfully connected to the new temporary WiFi network, the OLED will display a new screen to confirm that you are properly connected:
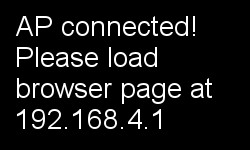
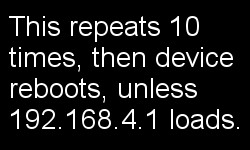
It also prompts you to load the input form for the WiFi credentials. The next step will be to use your browser to access the form where you will enter the network name (SSID) and password of your regular router. You can execute this step by typing the following IP address in your browser address bar (NOT the search bar):
This will load the form so that you can enter the network credentials of your regular router, but it may take up to 10 seconds for the form to load, depending on the speed of your local machine (or phone or tablet).

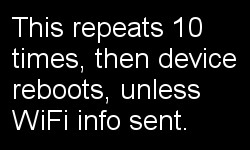
Here is a screen capture of the actual form you loaded (and should see) in your browser:
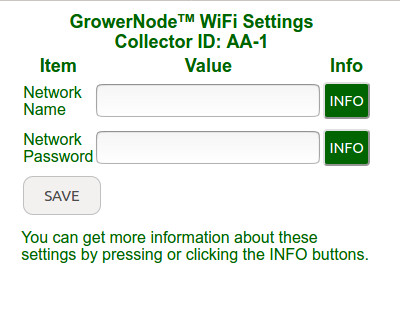
If you click or press the INFO buttons, you will see this text:
- The Network Name (SSID) is the identifier of the network you want to join. You would enter the network name just the same as if you were connecting a phone, tablet or laptop to your local router."
- The Network password also follows the same procedure as if you were connecting a phone, tablet or laptop to your local router.
After you have pressed or clicked the SAVE button and submitted the wifi info, you will see a final screen that notifies you that the system will test the wifi settings you submitted:
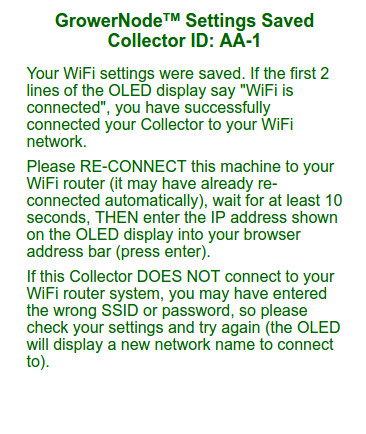
After you have submitted the wifi network name and password, there will also be a brief message on the OLED display letting you know that the system will test the WiFi credentials you registered:
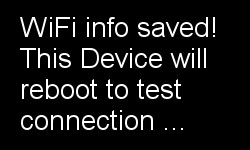
The Collector unit will reboot and test the wifi settings you submitted. You may see this screen, if the WiFi settings don't connect right away:
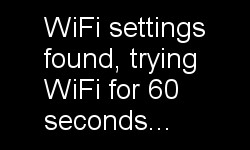
If the wifi settings you submitted fail to connect, you will see a brief message on the OLED with words to that effect, then the AP mode will start again with a new network name, so that you can try again.
Chances are you will succeed, so the OLED will display a message similar to this:
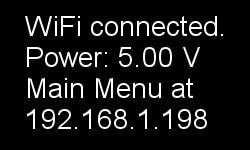
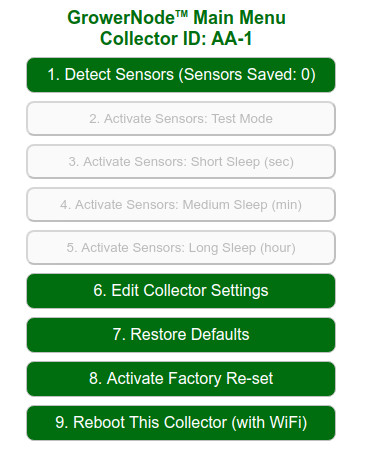
The Collector will store your WiFi settings permanently, and you can load the main menu in your browser by typing the IP address (shown on the OLED) into your browser address bar (NOT the search bar):
Purchase the Soil Sensors and Collectors in Our Online Store
You can purchase the soil moisture sensors, along with the Collector units in our sister DIY online store DIY online automation store.
We sincerely hope you enjoy our advanced technology products; if you have any questions, please contact us at any time! Please see the full article series at the bottom of this page.
Adrian Biffen
Senior Partner
GrowerNode™ Greenhouse Automation
G.R.O.W.S.™ System Article Series
|
G.R.O.W.S: GrowerNode Realtime Optimal Wireless Sensors |
The Collector:Part 1: Wireless Soil Sensor Collector Overview Part 2: Menu: Wireless Sensor Detection Process Part 3: Menu: Wireless Soil Sensor Testing Process Part 4: Menu: Wireless Soil Sensor Sleep Modes Part 5: Menu: Edit Collector Settings Part 6: Menu: Restore Collector Defaults Part 7: Menu: Activate Factory Re-set Part 8: Menu: Reboot This Collector (with WiFi) Part 9: Connect to your WiFi Network Router (You are here) |
The Sensors:Part 1: Wireless Soil Sensor Overview Part 2: Wireless Soil Sensor Activation |
|
The Cloud:Part 1: See Your Data from Anywhere |
