GrowerNode™ is our greenhouse and garden environmental sensing and control system. It is a web based system for sensing and control of greenhouse, field and garden operations. The 'Islander' is our small prototype greenhouse design used as a demonstration project for GowerNode & IoT (Internet of Things).
In Part 6, we discussed some details of the wall framing construction; you can see the finished result in the following pictures, with siding on the 2 walls that don't get much sun. Part 7 is about the installation of the roof modules.
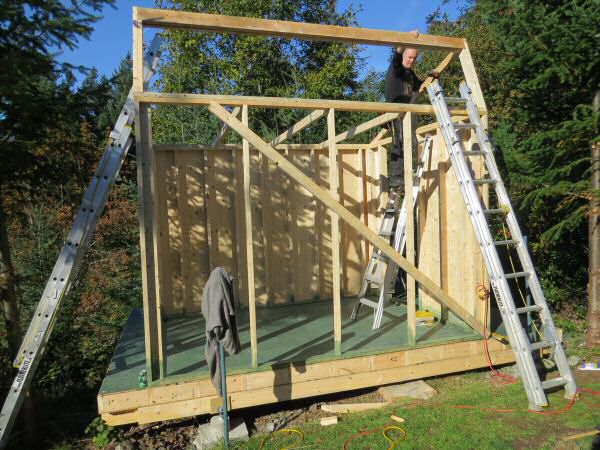
The modular design of our greenhouse system is optimized for DIY (do it yourself) construction, but it also makes it easier and quicker for our crew to construct these when a customer requests a turnkey operation. In the above picture, Stew makes the final adjustments to the double 2x6 roof beam which also encloses the large opening skylight that captures a lot of photons.
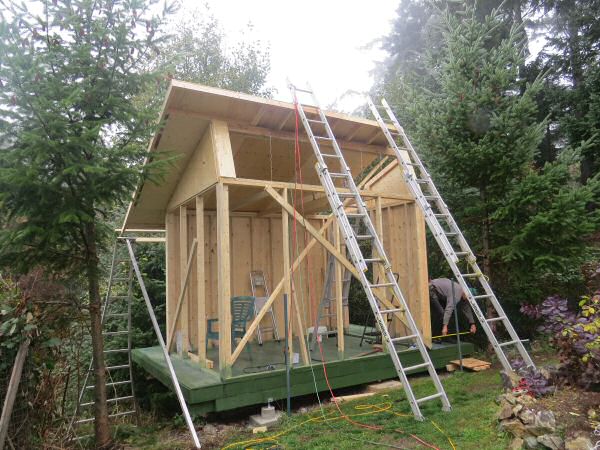
The roof construction can be very tricky as it is high up and would normally require someone to be up on the roof - a dangerous place to be. With our modular system, each roof section is quite light, and they can be easily pulled into position by 2 people on the ground. The final fastening can be done from a short step ladder, and there is no need at all to have someone on the roof.
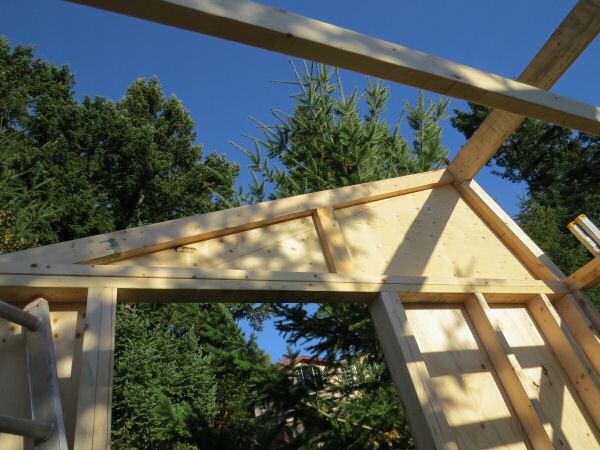
The sheathed gable end and double 2x6 roof beam provide support for the roof sections, securely anchoring it to the structure. In the picture below, you can see the sheathing in place on the gable end, which sits above the doorway in the end wall.
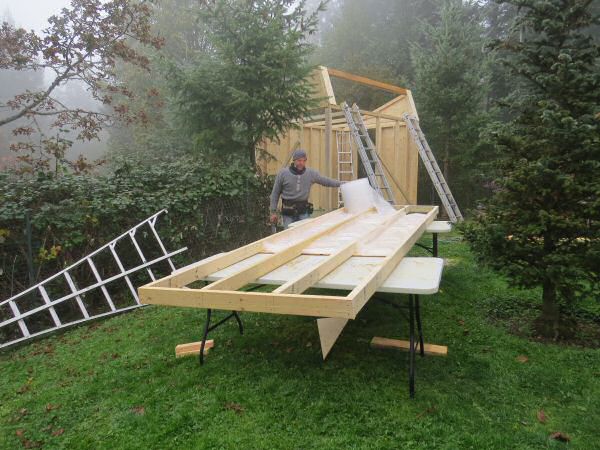
The greenhouse modular roof system uses double 2x4 on 24" centers and is very rigid. It does not require any internal webbing or support, enabling an unobstructed flow of hot air to escape through the opening skylight in the warmer months. In the following picture Andy completes a roof module (while the October fog rolls in) by stapling the bubble wrap insulation between the rafters. In this particular application, we used 2x4 set on 16" centers, but we later switched to double 2x4 on 24" centers to make it more rigid.
GrowerNode™ Greenhouse Construction Index (The Islander):
Part 1: Greenhouse Construction: Introduction
Part 2: Greenhouse Construction: Site Prep & Footings Forms
Part 3: Greenhouse Construction: Foundation Concrete Footing Pour
Part 4: Greenhouse Construction: Foundation Pier Column Setup
Part 5: Greenhouse Construction: Bubble Wrap Insulation re Floor Joist Modules
Part 6: Greenhouse Construction: Framing the Structure for Bubble Wrap vs Glass Walls
Part 7: Greenhouse Construction: Roof Module Installation (you are here)
Part 8: Phase 1 Completed, Ready for Finishing Stain & Bubble Wrap Skin